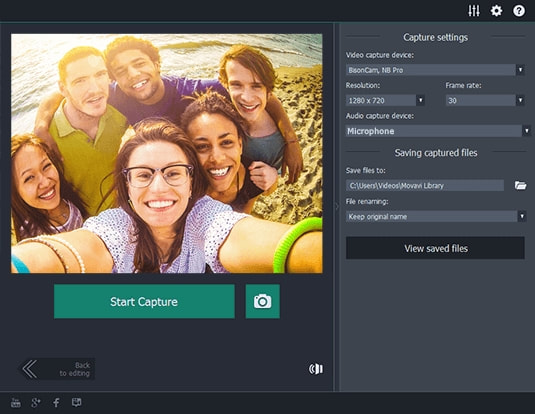
When to choose the right software for the task is the real question as there are quite a few options available in the market. But sadly, not all video editing software have been created equal. You will need to choose the best video editing software to create creative videos with your photos. Why the Movavi Video Editor? If you are wondering how to make a video with pictures, then you’ve come to the right place. The Movavi Video Editor is a great option for a picture video maker for reasons that become apparent once you have opened the program. If you are looking to give your friend of family member a memorable gift or just want to create a video out of the photos you have taken for personal use then the Movavi Video Editor is just the app you need. The following are some tips to help you create amazing videos with the Movavi Video Editor using your old photographs. Adding the Photographs Once you have downloaded the software in your system you need to add in the photographs that you want to use in your video. The Movavi Video Editor makes it easy to add photos of various sizes into the software so that you can make your video. First, you will need to choose the ‘Create a Project in Full Feature Mode’ option and click on ‘Add Media Files’ then select the files that you want to use in the video. These photos will automatically appear on the Video Track section of the program. The Movavi Video Editor makes it even easier for the user to create their videos by including a drag and drop option that they can use to select the photographs. Once the photographs have been included you need to place them in order of appearance. In other words, how you want them to appear in your video. Using Filters One reason why the Movavi Video Editor is the preferred option for both novices and professionals is because of its easy-to-use user interface, which takes the guesswork out of using the software to create your video. You can create special effects in your video by including filters from the filters tab. Once you have selected the filters you want to use from the various options, the filters will be automatically included in the photo. Movavi allows users to include multiple filters to a video which enhances the quality of the video and makes it more entertaining for the viewer. Adding Transitions You can create interesting and unique videos using just photos thanks to the ability to add animated transitions in the video. All you have to do is click on the Transition Wizard tab which has a picture of mountains on it and is located at the lower end of the UI. Adding subtitles and even an audio track to your video has also been made easy with the Movavi Video Editor. Once you’ve completed your masterpiece you will have multiple options of video formats to save your video before uploading it to YouTube or Google Drive. |
Handshakin Blog
|
Get Involved |
Work for Handshaking |
Legal/OtherHandshaking© 2014-2022
All Rights Reserved |


 RSS Feed